A GUIDE TO ELDERFLOWER SEASON
by George Fredenham AKA Flavour Fred
George is a professional forager, chef, and ex-restaurateur with over 20 years of experience working with wild foods, honouring the culinary traditions of picking, preserving, and harnessing the incredible flavours of local ingredients. His encyclopaedic knowledge is unparalleled, and today he’s sharing his very best tips and advice for foraging, preserving, and using elderflower. Thank you, George.

With temperatures on the rise we find ourselves approaching summer and the signs are clear: bees frequent the wildflowers or buzz through your door, spring vegetables like asparagus and rhubarb are cropping up everywhere, ready to go into medleys and crumbles. One of my favourite times of year, when the blooms of elderflower brush against you and the intoxicating scent fills the air, is upon us.
Back to it. The window is from May to July – some indicators heralding elderflower season are the cherry blossoms beginning to fall and fill the gutters, and the hawthorn tree’s Mayflower poking out. But it’s the flower of the Elder (Sambucas nigra) that we’re looking for, which turns into a deeply fruity and savoury berry later in the year, providing us with another haul of a great, wild ingredient. It’s good to keep note of your favourite spots, because once you pick the flower you won’t be able to gather the fruit. For this reason I choose different locations for the picking of flowers and berries, staying respectful of the tree and leaving enough for pollinator organisms to do their job and help regenerate the environment. It’s also prudent to check the fallen branches for jelly ear mushrooms that help break down the dead elder wood later in the year.
1. Safe Identification
Elderflower is everywhere in the UK and also found in much of Europe, Western Asia, North and Central America. When approaching an area where you suspect elderflower grows, start by looking for balanced, cream floral plates nestled amongst green foliage. Elderflower is a very common plant and grows in different environments – hedgerows, woodlands, garden edges, farmer’s fields, walkways, playing fields and by canals – and can easily be mistaken for other flowers so it’s essential to understand the key characteristics:
- Elder can grow to up to 6 meters and as wide as it is tall.
- The bark is a light brown-grey with yellowing in between the cracks.
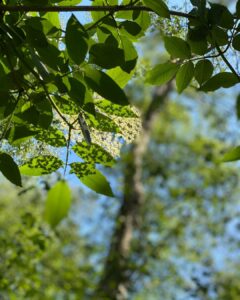
- The leaves are light green, spear-shaped and have serrated edges that can be 5-12cm long and 3-5cm wide. They grow in opposing pairs of 5-7 leaves with one leaf at the end of the stem resembling a feather known as a “pinnate”.
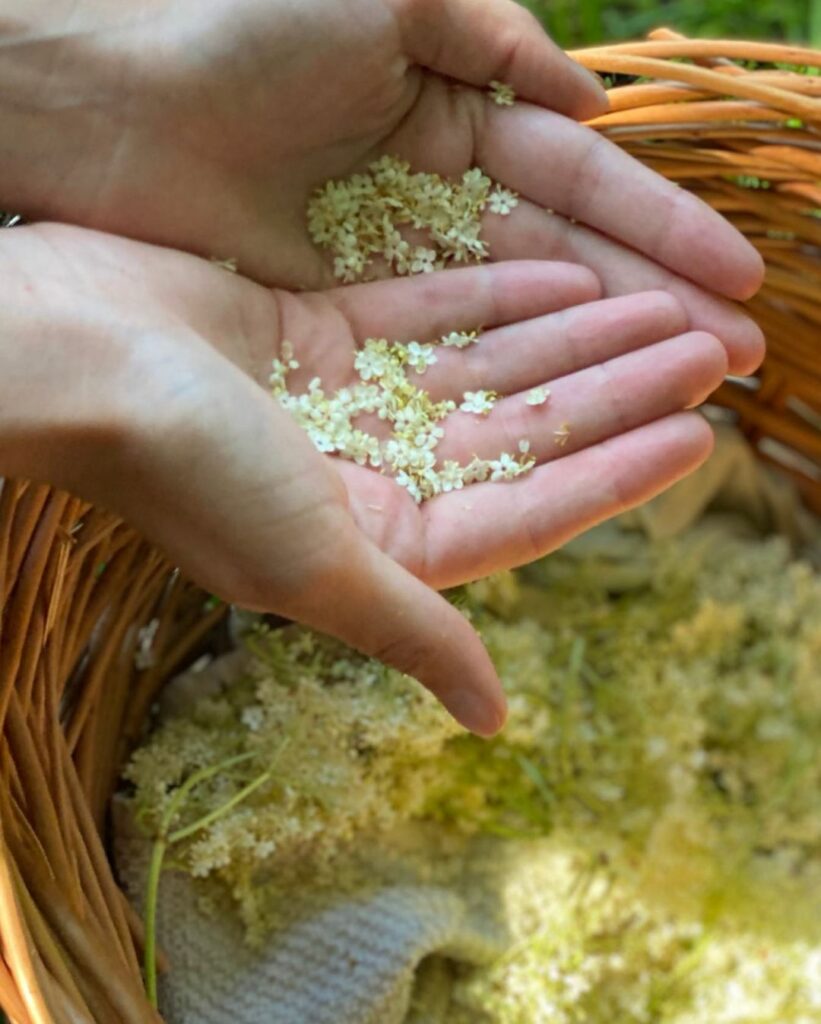
- The flowers are 5-6mm wide and are held in flat groupings that total 10-25cm in diameter.
- Later in the year when the flowers turn into elderberry, the clusters of fruit will have a similar structure but start to droop because of the weight. (When picked they begin to release their juice themselves, making it very easy to collect. There’s a lot that can be done with elderberries including syrups, wines, vinegars, and an ancient fermented British-French sauce called “pontak” meant to accompany game – all of which involve cooking the berry. We’ll go into more detail in an article later in the year.)
Note: We need to be careful with the elder plant. Aside from the flowers, the rest of this deciduous shrub or small tree is considered poisonous. Even the berries should be cooked or prepared in ways to remove the cyanide-inducing glycosides in the seeds. This is controversial as many people will have grown up eating raw elderberries, and still do. I myself have eaten plenty raw, but eating a certain quantity will have a negative effect and that quantity will vary from person to person. There is a similar warning surrounding eating apple seeds or the pits of stone fruit, all of which contain cyanide.
2. Dangerous lookalikes
There are a few plants you need to be aware of that can be confused for elder.
- The Umbellifer (carrot) family, whose flower heads are like upside down umbrellas, contains a number of plants, some of which (like poison hemlock) are very poisonous.
- The difference is quite clear as elder is a shrub/tree and not a plant, so check from where the flower head is growing and avoid the dangerous mix up.
- The main Umbellifer that could cause confusion, especially with a young elder bush, would be Ground Elder. Its leaves have a similar structure – hence the name – but once again it’s a low-to-the-ground plant that does not have clusters of flowers like elder.
- The Rowan Tree or Mountain Ash is a small tree that can also be confused with elder, often found lining roads. Its leaves are much finer and far more serrated, its bark is a smooth silvery grey, and the tree is much sturdier than elder.
- You will also notice the flower heads do not balance like elder but rather hang; they are also more silvery grey than the cream colour typical of elderflowers and rarely get as large. Rowan flower heads also have a strong almond flavour, and the fruit is red or orange.

3. History, folklore, and medicine
The elder has a huge amount of folklore and history surrounding it. It is supposedly the tree from which Judas hung himself after betraying Jesus, and so has many negative connotations in Judeo-Christian religions. There are also many superstitions about burning elder wood. The branches have a hollow that runs all the way through the middle through which flames get sucked in as it burns. The distinct crackling and screaming sound, coupled with a thick smoke and a terrible smell, means that elder has a reputation for being terrible firewood, not welcome in the house and prone to attracting witches….I wouldn’t recommend cooking over it either unless nothing else is available!
And yet the elder plant has a variety of medicinal properties and uses to extol, referred to in popular folklore as the “medicine chest of country people”. The flowers are mainly used by herbalists to aid in combatting inflammation within the respiratory system, such as asthma, coughs and hay fever. The berries are known as a super immune booster and all the foragers I know make a syrup from them to take throughout the winter months (you can buy a commercial version called “Sambucol” in Holland and Barrett or Waitrose – but that’s a waste of money when you can just make it yourself).
4. Proper processing and uses
As stated earlier, only the flowers are edible so that’s what we’ll be using. Collect on a sunny day, preferably the day after rain. Place the flower heads upside down on a flat surface to allow the bugs to crawl away for an hour. It’s also important to use quickly, because if they break down they start to release a chemical called Ketone (4-thio-4-methylpentan-2-one), also known as the “Cat Ketone” (present in the leaves and flowers of currants as well), that will give off the prominent aroma of cat wee. Not nice I know, but worth noting so that you can process it as quickly as you can to avoid this oh-dear aroma.
I’ve used elderflower in many ways but the most popular are in sweet applications such as:
- Cordials
- Natural sodas (fermentations like Elderflower ‘Sham’pagne)
- Wines, infusions into spirits
- Flower head tempura
- Elderflower Sherbert is great especially playing with cocktails
- Infused into creams, custards, ice creams, sauces and cakes.
I also like to use them in savoury dishes, such as by adding into curries to develop floral flavours. Below are a couple of my favourite recipes.

Recipe #1: Elderflower and Mint Vegetable Medley
This is a simple savoury dish that requires little preparation and is finished in just one pan (perfect for camping), showcasing the flavours of elderflower with other seasonal items that complement it beautifully.
Serves 4 people, Prep time 20 mins, Cook time 10 mins.
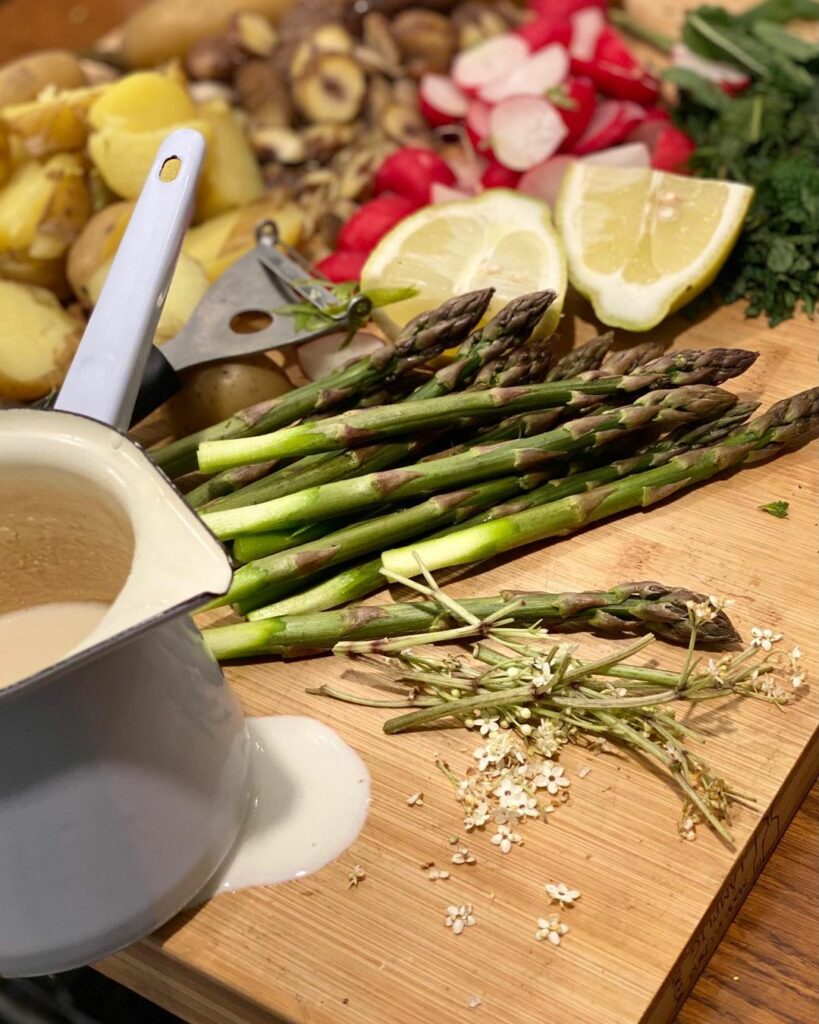
- 4 bountiful bunches of elderflower
- 500ml single cream (or vegan cream)
- 2 lemons, halved
- 500g Jersey Royals
- 1 bunch fresh mint
- 50g butter
- 1 bunch radish
- 1 bunch asparagus
- 200g cooked chestnuts
- Seasoning
- First, make the elderflower cream infusion. Place the elderflowers into a pot with the cream and lemons, bring to the boil. Once it has begun to boil you can remove from the heat and put the lid on, letting it further infuse while you boil your potatoes. (It can also be done in advance, and is a very versatile cream which can be used in cheesecakes, to serve with pancakes, etc.)
- Next put a pot of salted water onto the hob and bring to the boil to blanch the potatoes. After 20 minutes check they are cooked through, strain if so, and set to one side on a flat tray to cool. This can also be done in advance.
- Now we can begin to prepare the vegetables and chestnuts. The asparagus need to have the woody ends removed, the radishes can be cut into halves, and the chestnuts crushed. Remove the stems from the mint and chop roughly. The potatoes can be cut into discs.
- Now it’s time to cook! This all takes place in one large frying pan or saucepan. Add the butter and put on the highest temperature to melt it.
- Once it starts to bubble add the potatoes. When the potatoes are coloured on both sides move them to one side of the pan (put on top of each other if need be) and cook the radishes. Repeat with the asparagus.
- Toss the vegetables together and add the chestnuts. Essentially we just want all the flavours to mix before adding the fresh mint and elderflower cream.
- Season to taste, and serve.

Recipe #2: Elderflower Tepache
Tepache is a popular drink from Central America. It’s a natural soda made from pineapple, chilli (optional), cloves, cinnamon and sugar. I’ve swapped out the pineapple for elderflowers here but kept the spices as it is such a great combination. This is wonderful mixed with a beer for a floral shandy, or as a mixer for vodka, gin and especially rum. The fermentation and carbonation occurs naturally due to the activity of the wild yeast and bacteria which are present everywhere. If you’ve made elderflower sparkling wine before, this will bolster your elderflower and wild soda skillset to the next level.
- 2 litre flip top jar (Kilner)
- 1 long-handled stainless steel spoon
- 1 reusable straw
- 1 sieve
- 2 x 750ml glass flip top bottles or plastic screw top bottles
- 10 bountiful bunches of elderflower
- 4-5 cloves
- 1 cinnamon stick
- 1 chilli (optional)
- 1.5 litres of water
- 130g sugar (organic is best)
- Everything gets put into the flip-top jar. Close the jar and give it a good shake to mix the sugar. Open the jar to let out any gas and then seal again.
- This needs 4 days at room temperature to kick off the fermentation. Avoid placing it in direct light.
- After 4 days you should see the mixture starting to foam. Let the gas out (burp it), re-seal the jar, and roll the jar around to mix everything up once more. Wait a few minutes and burp a second time. Now leave it for another day.
- On day 5 you can taste the mixture using the straw to see if you are happy with the flavour. If you are happy with it, it’s time to strain. If it’s too sweet for you let it ferment at room temperature a bit longer. Personally I like things a bit more sour and let it ferment another 3 days.
- Keep on paying attention to the build up of gas pressure by burping it every day.
- Once you’re happy with it, strain through a fine sieve and pour the liquid into your clean bottles. Glass ones with a flip top are best but plastic bottles can also be used.
- I re-use the spent ingredients for another batch and simply repeat the process. The ingredients will already have the necessary fermentation microbes so it should only take 2 days rather than the 4 indicated the first time around.
- The bottles I leave at room temperature again for 2 days to build up carbonation, still burping it once or twice to release excess gas.
- Place in the fridge to slow down the activity, and enjoy! It’s a delicious drink and full of natural probiotics. Win-win.
